23
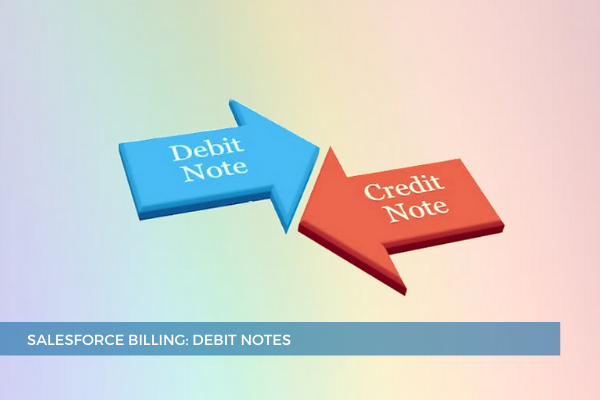
JunDebit Notes and Credit Notes represent a way of adjusting errors on a posted invoice. Once an invoice is posted, you can't go back and change the amount on the invoice because the invoice has already been recorded in the financial books as a financial transaction. In this case, it is necessary to use accounting adjustments to ensure that we can track changes to a posted invoice. Debit Notes and Credit Notes are the functionalities we can use to keep the books balanced. Debit Notes or Credit Notes are also commonly known as Debit Memos or Credit Memos, but Salesforce Billing only uses the terms Debit Note and Credit Note.
These two objects have the same data structure, but they do opposite things to the invoice. Conceptually, Debit Notes are a formal way of notifying a company that they owe debit to us, such as late fees or unexpected additions to the invoice value. So, the Debit Note adjusts the invoice balance in the seller's favor, while the Credit Note adjusts the invoice balance in favor of the buyer.
The Debit Note record has a lookup to the Account and acts as a bucket for all the Debit Note Lines, which contain the actual amount of the adjustment. Note that the Debit Note Line has a lookup to the product. This helps us determine how the Debit Note Line is recorded as a financial transaction.
Debit Notes go through an Allocation Process to allocate against an invoice line so that we can adjust the invoice amount. A debit note will increase the balance of an invoice line when allocated against a specific invoice line, thus increasing the invoice's balance.

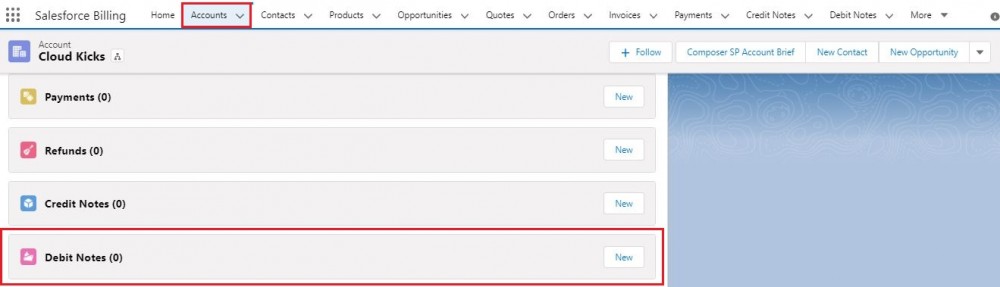
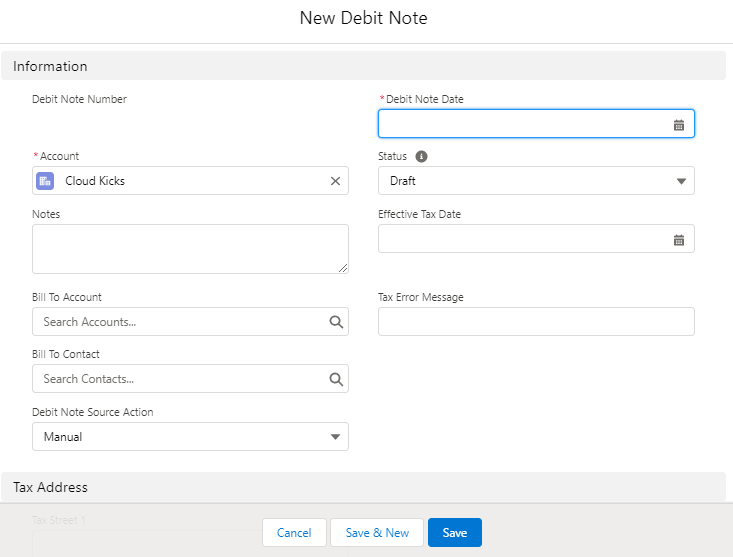
Debit Notes can be created from the Debit Note tab by clicking the New Debit Note button or it can be created from the Related List on the Account. After saving the Debit Note, Debit Note Lines can be created to define the amount. Then the Debit Note can go through the posting process; this is to make sure that any errors are caught during the draft status. Debit Notes can go through allocation only after being posted.
Once posted, there's going to be an Allocation button that will take you to the page to allocate the Debit Note Line. The allocation allows you to select one of many Debit Note Lines and allocate one Debit Note Line at a time (notice the radio button). Once you select a Debit Note Line, you can choose an invoice line to apply it to and indicate the amount you want to apply. Or you can allocate a single Debit Note Line across multiple invoice lines with different amounts. You just have to make sure that the amounts add up to the balance of the Debit Note Line. Afterward, clicking the Allocate button automatically generates a Debit Note Allocation.
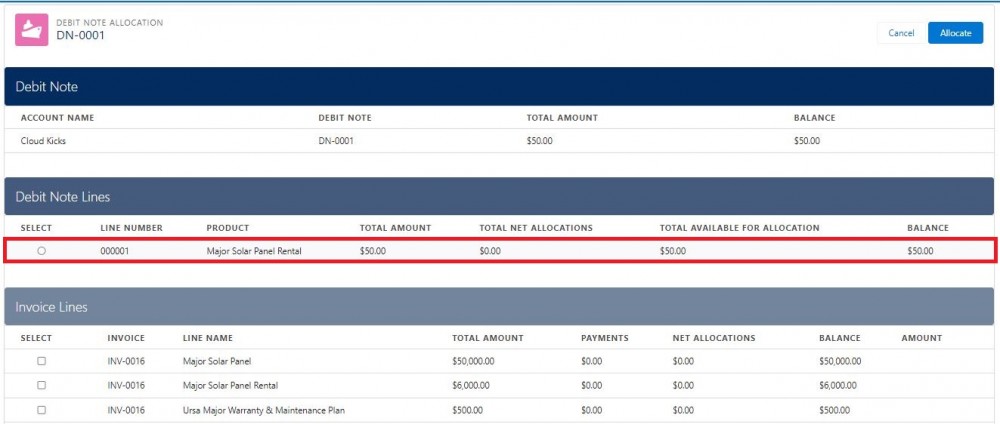 Furthermore, once the Debit Note Line is allocated, the invoice line balance is updated, and the invoice balance is updated in turn.
Comments (0)