11
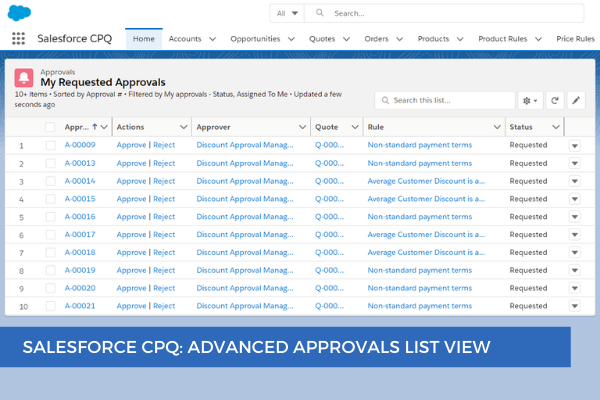
MayIf you want to make sure that the approvers see the approvals pending their review from the Home Page, follow these steps:
First, create a New Custom Object Tab for the Approval object (if there is no tab, you can't create the list views for the custom object, and of course you can't add them to the List View Component on the Home Page) and make sure it's visible to the necessary user profiles.

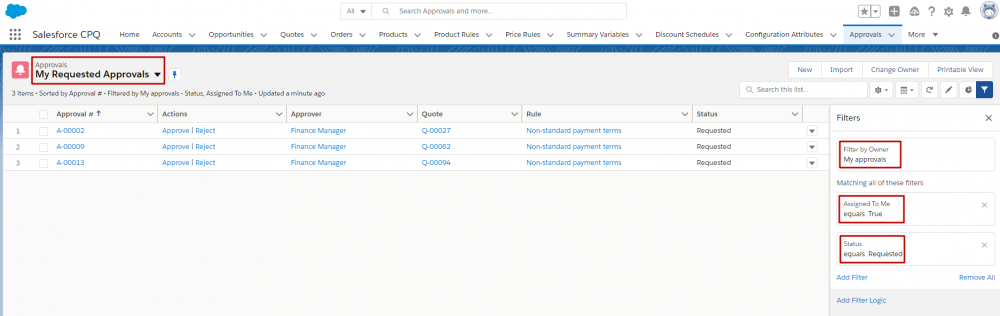
Open the newly created tab for the Approval object and create a new list view named My Requested Approvals with the following filters:
- Filter by Owner: All approvals,
- AssignedToMe = TRUE,
- Status = Requested.
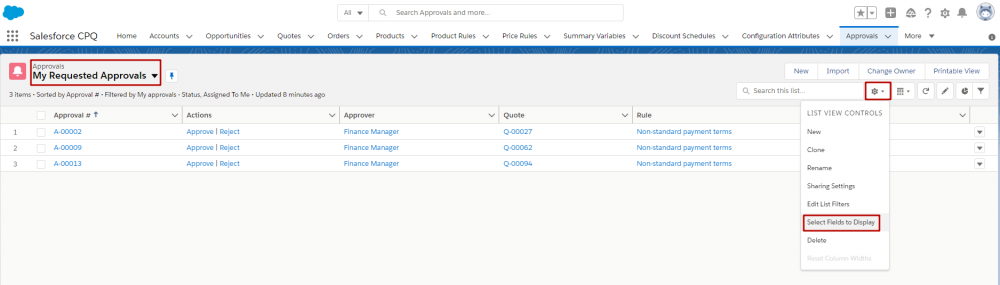
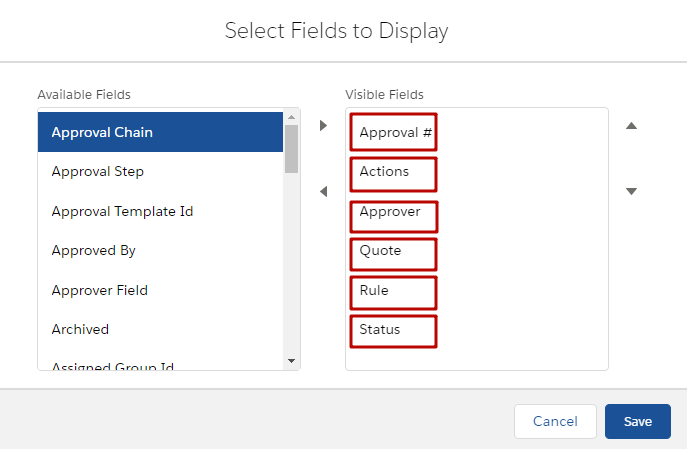
Next, select the fields to display. You might want to add the following:
- Approval #
- Actions
- Quote
- Approver
- Rule
- Status
Note: With the Actions field approvers can Approve or Reject approvals directly from the Home Page.
Then, you can add this list view to the List View Component on the Homepage.

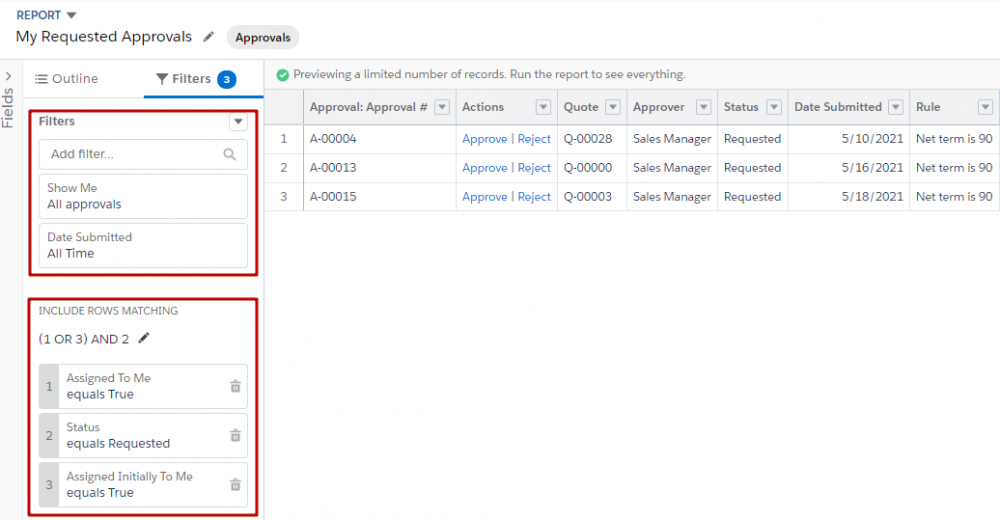
Beware that too many List View components on one page can cause page performance issues, so they should be used sparingly. Alternatively, you can create a dashboard with a table component with the source report on Approvals, filtered to:
- Show Me = All approvals
- Date Submitted = All Time
- Assigned To Me = True
- Status = Requested
Then, you can add this dashboard to the Dashboard Component on the Homepage.

Here are the two functionalities on the same Home Page:

Comments (1)
anonymous admin
Oct 11, 2021Love your work. Your blogs on cpq have been extremely helpful in my personal growth and my company's CPQ instance's growth. Thank you!