17
JanSalesforce CPQ: Creating Discount Schedules - Part 2
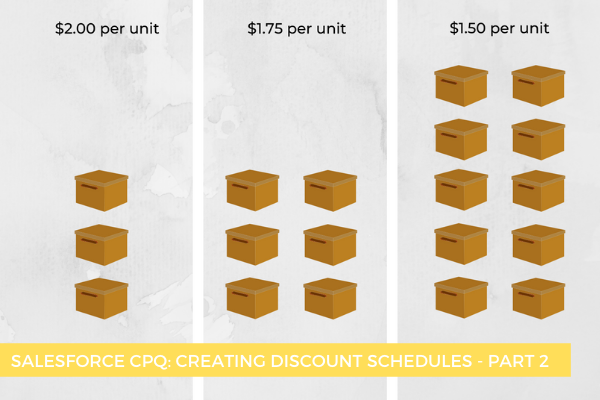
In a previous blog post, we looked at the main types of discount schedules and the key fields used to create them. Now, let's imagine the typical situation when you want to reward the customers who buy in bulk. You will have to Create a schedule discount so that the customer receives a discount for buying greater quantities of ProductX. So, let's take a trickier case and create a discount for every 50 purchased units counting quantities of a product when split across multiple quote lines. In order to do this, we will have to make use of one of the most important discount schedule settings which is the Aggregation Scope field. It controls whether the quantities of a product are aggregated at the quote level or at the quote group level.
Step 1. Create a Discount Schedule that counts quantities of a product even if split across multiple quote lines.
- A. Click the Discount Schedules tab from the navigation bar.
- B. Click New.
- ► For the Schedule Name, enter Steps of 50 Units
- ► For the Aggregation Scope, select Quote
- C. Click Save.
Step 2. Create five Discount Tiers, with ranges of 50 units for the first four.
- A. Click Edit Tiers.
- ►For the Tier Name field enter No Discount
- ►For the Lower Bound field, enter 1
- ►For the Upper Bound field, enter 51
- ►For the Discount field, enter 0
- B. Click the + button.
- ►For the Tier Name field enter Level A
- ►For the Lower Bound field, enter 51
- ►For the Upper Bound field, enter 101
- ►For the Discount field, enter 3
- C. Click + button.
- ►For the Tier Name field enter Level B
- ►For the Lower Bound field, enter 101
- ►For the Upper Bound field, enter 151
- ►For the Discount field, enter 7
- D. Click + button.
- ►For the Tier Name field enter Level C
- ►For the Lower Bound field, enter 151
- ►For the Upper Bound field, enter 201
- ►For the Discount field, enter 10
- E. Click + button.
- ►For the Tier Name field enter Level D
- ►For the Lower Bound field, enter 201
- ►For the Discount field, enter 15
- F. Click Save.
Step 3: Update ProductX to use the Steps of 50 Units discount schedule.
- A. Click the Products tab from the navigation bar.
- B. Click All Productsfrom the Products List View.
- C. Click ProductX.
- D. Click Edit.
- ►For the Discount Schedule field, enter Steps of 50 Units
- E. Click Save.
Step 4: Check whether ProductX is discounted as expected by adding it to a quote then changing its quantity.
- A. Click the necessary quote.
- B. Click Edit Lines.
- C. Click Add Products.
- D. Click ProductX product.
- E. Click Select.
- (Suppose the Regular Unit Price for ProductX is $20.00. Also note there is an icon on the quote line that looks like a dollar symbol on a sign, and hovering over the icon pops up discount schedule information.)
- F. Change ProductX quantity to 55
- G. Click Calculate.
- (Note the Regular Unit Price for Printer Paper Letter is now $19.40.)
- H. Change ProductX quantity to 125
- I. Click Calculate.
- (Note the Regular Unit Price for ProductX is now $18.60.)
- J. Change ProductX quantity to 175
- K. Click Calculate.
- (Note the Regular Unit Price for ProductX is now $18.00.)
This is how you can offer quantity-based discounts to encourage larger deals and make sure at the same time that sales reps don't have to bother and keep track of how much they should discount for given quantities - Salesforce CPQ can automatically apply the right discount for each specific deal by using Discount Schedules.
Comments (1)
Discountler
Feb 19, 2023Thank you for a great guide to using discounts!