
15
JulYou have noticed that product rules and price rules in Salesforce CPQ contain the Lookup Object field. This field defines the object that stores data you can evaluate through lookup queries to compare against your quote, quote line, or product option fields.
For example, your client has a custom Partner Level Discounts object with fields for partner level, product family, and partner discount. When a sales rep makes a quote for a partner, they specify the partner level and the product family into matching custom quote fields. Depending on this combination, the correct partner discount is revealed.
The object that your lookup query evaluates can be a custom object, such as Partner Level Discounts, or Salesforce CPQ’s Lookup Data object. We should mention that a custom object would show your lookup data with more detail than through the Lookup Data object.
We used a Lookup Object when we created Partner Discounts By Product Family in a previous blog post. Let's see how it is actually set up to serve as a discount matrix of all possible partner discount and product family combinations.
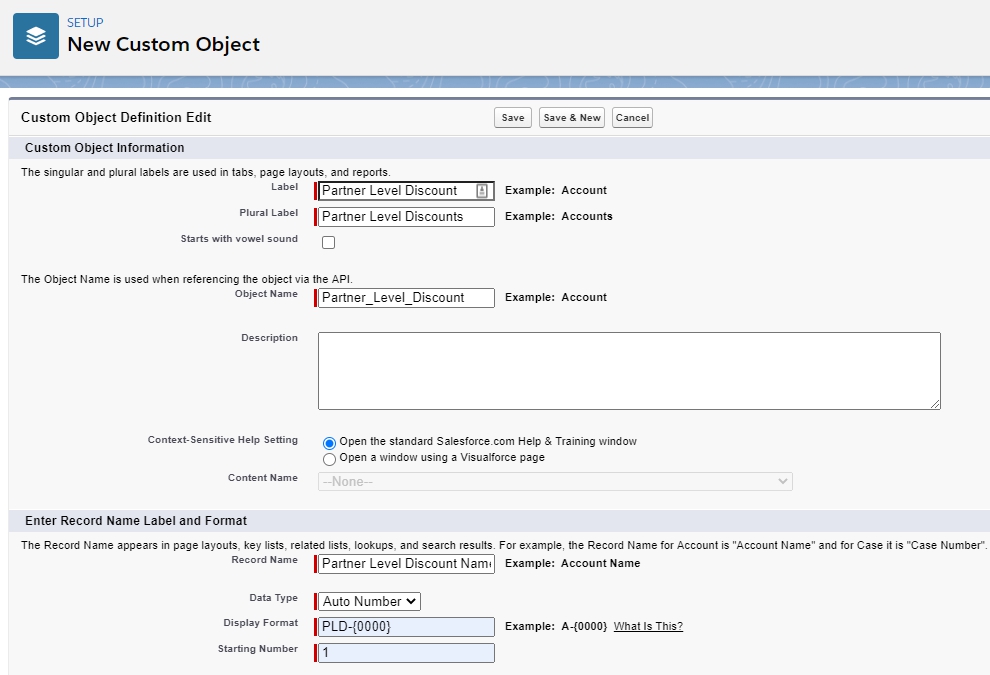
Step 1. In order to create a Lookup Object, go to Setup (Gear Icon) and open the Object Manager. Then, click the Create button and select Custom Object.
Set the necessary field values in the Custom Object Information section, then Save.
- For the Label field, enter Partner Level Discount
- For the Plural Label field, enter Partner Level Discounts
- For the Data Type field, select Auto Number
- For the Display Format field, enter PLD-{0000}
- For the Starting Number field, enter 1
In the Object Creation Options (Available only when custom object is first created) section, check the option Launch New Custom Tab Wizard after saving this custom object. Then click Next, Next, Save.

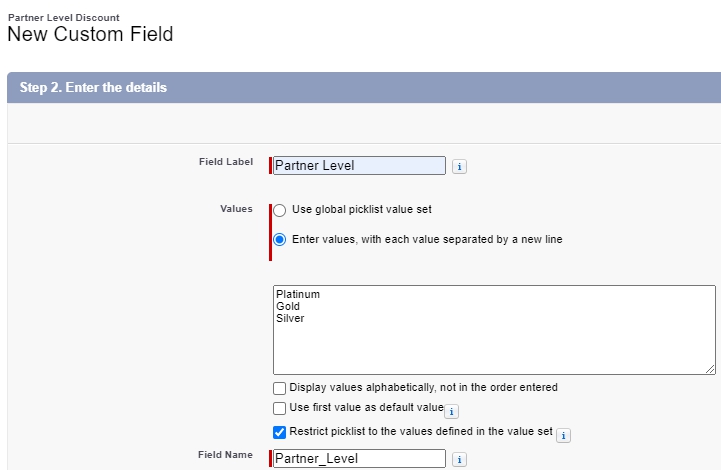
Step 2. Next, go to Fields & Relationships and click New to start creating the necessary fields. First, create the Partner Level one: choose the picklist type and set the following values, each separated by a new line:
Platinum
Gold
Silver
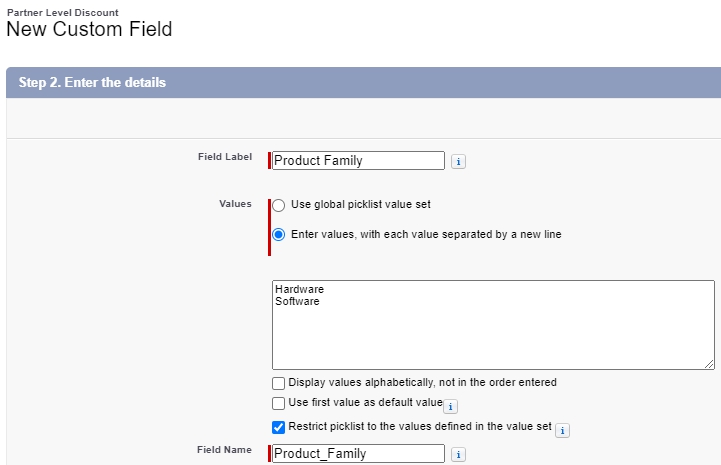
Then create another picklist field for the Product Family with the following values:
Hardware
Software
Next, create a Number field for the Partner Discount and set the following values:
For the Field Label, enter Partner Discount
For the Length field, enter 16
For the Decimal Places field, enter 2

Step 3: Leave Setup, go to the Salesforce CPQ app, and navigate to the Partner Level Discount tab, then click New to create the necessary Partner Discount Level records per the table compiled beforehand:
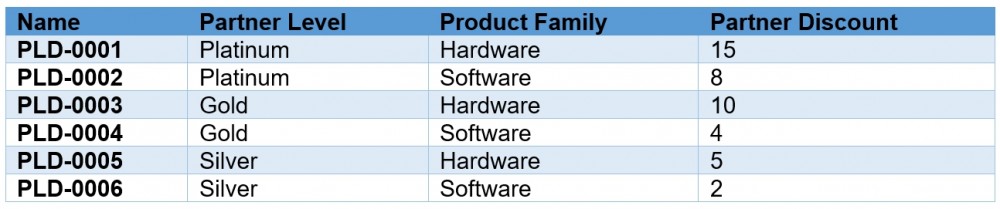
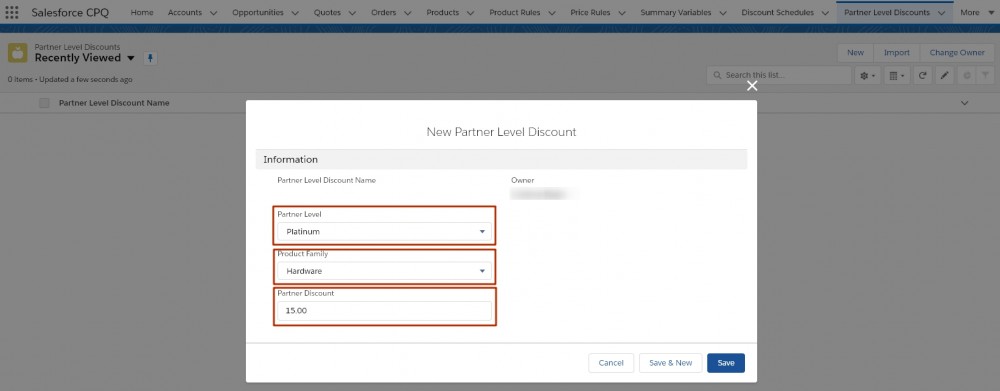
After setting up the custom Lookup Object, you can proceed to create a price rule that will give your partners different discounts based on the account Partner level and based on the quote line Product Family.
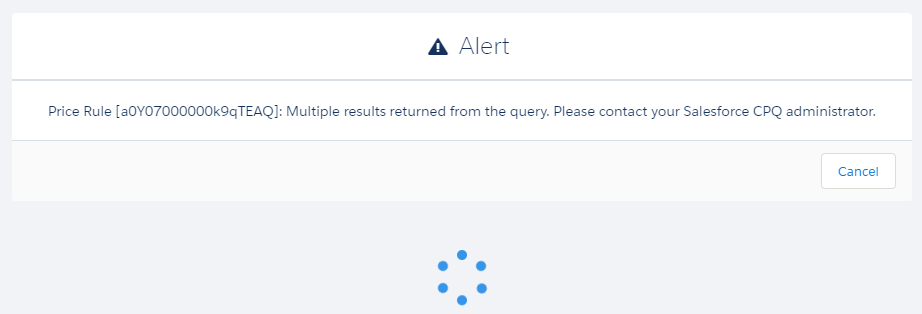
Note: Make sure you set up the lookup table in such a way, that you get down to at most a single result in it. If there is no match when querying - the price rule won't do anything, but if it returns more than one result, then the price rule will throw an error because it won't know which value to use.
Comments (0)